Angular IDE for Modern Web in Eclipse
Looking for a unique balance between an Eclipse IDE and a modern web development experience? Then the Angular IDE plugin is ideal for you. It covers the demands of the modern web developer by allowing you to code JavaScript and TypeScript in the Eclipse IDE, as well as use command-line tools. As part of this IDE, not only do you get access to modern web languages, but also the assistance of instant validation, rich editors with code completion, and even integrated launching of your Angular server.
Want to dive in and give it a try? Install the Angular IDE plugin from the Eclipse Marketplace or use the the following npm commands to download the Angular IDE bundled with Eclipse IDE for your current Angular project:
> npm install -g angular-ide
> ngide install ~/Development/angular-ide
> ngide open Foo.ts
As soon as the Angular plugin is installed into your Eclipse IDE, you can use its new project wizard to generate your first Angular application using the Angular CLI. While your project is being created, the new Terminal+ view will appear. It will provide a context pertinent to your development -- via the command line. The view also performs automatic setup of needed command-line tools like Node and npm.
As with most modern development, there are templates that can be used to rapidly accelerate the creation of your first application. Here are examples of Angular CLI-based templates that will make your development much faster:
Before diving in with an example of getting started with your first Angular project, here are the key capabilities that come with the Angular IDE plugin for the Eclipse IDE.
- TypeScript 2.1 validation and debugging
- Advanced coding of HTML templates with validation and auto-complete
- Real-time validation inside the editor using TSLint 4
- Integrated usage of the angular-cli for Angular best practices
- Quick fixes to rapidly address common concerns in TypeScript
- Optimized for developers to make the most of Angular
Ready to get started with your own application in Angular? Here are the first few steps to take to get familiar with the concepts of components, services, routes and more.
You can read more at the Angular IDE learning center.
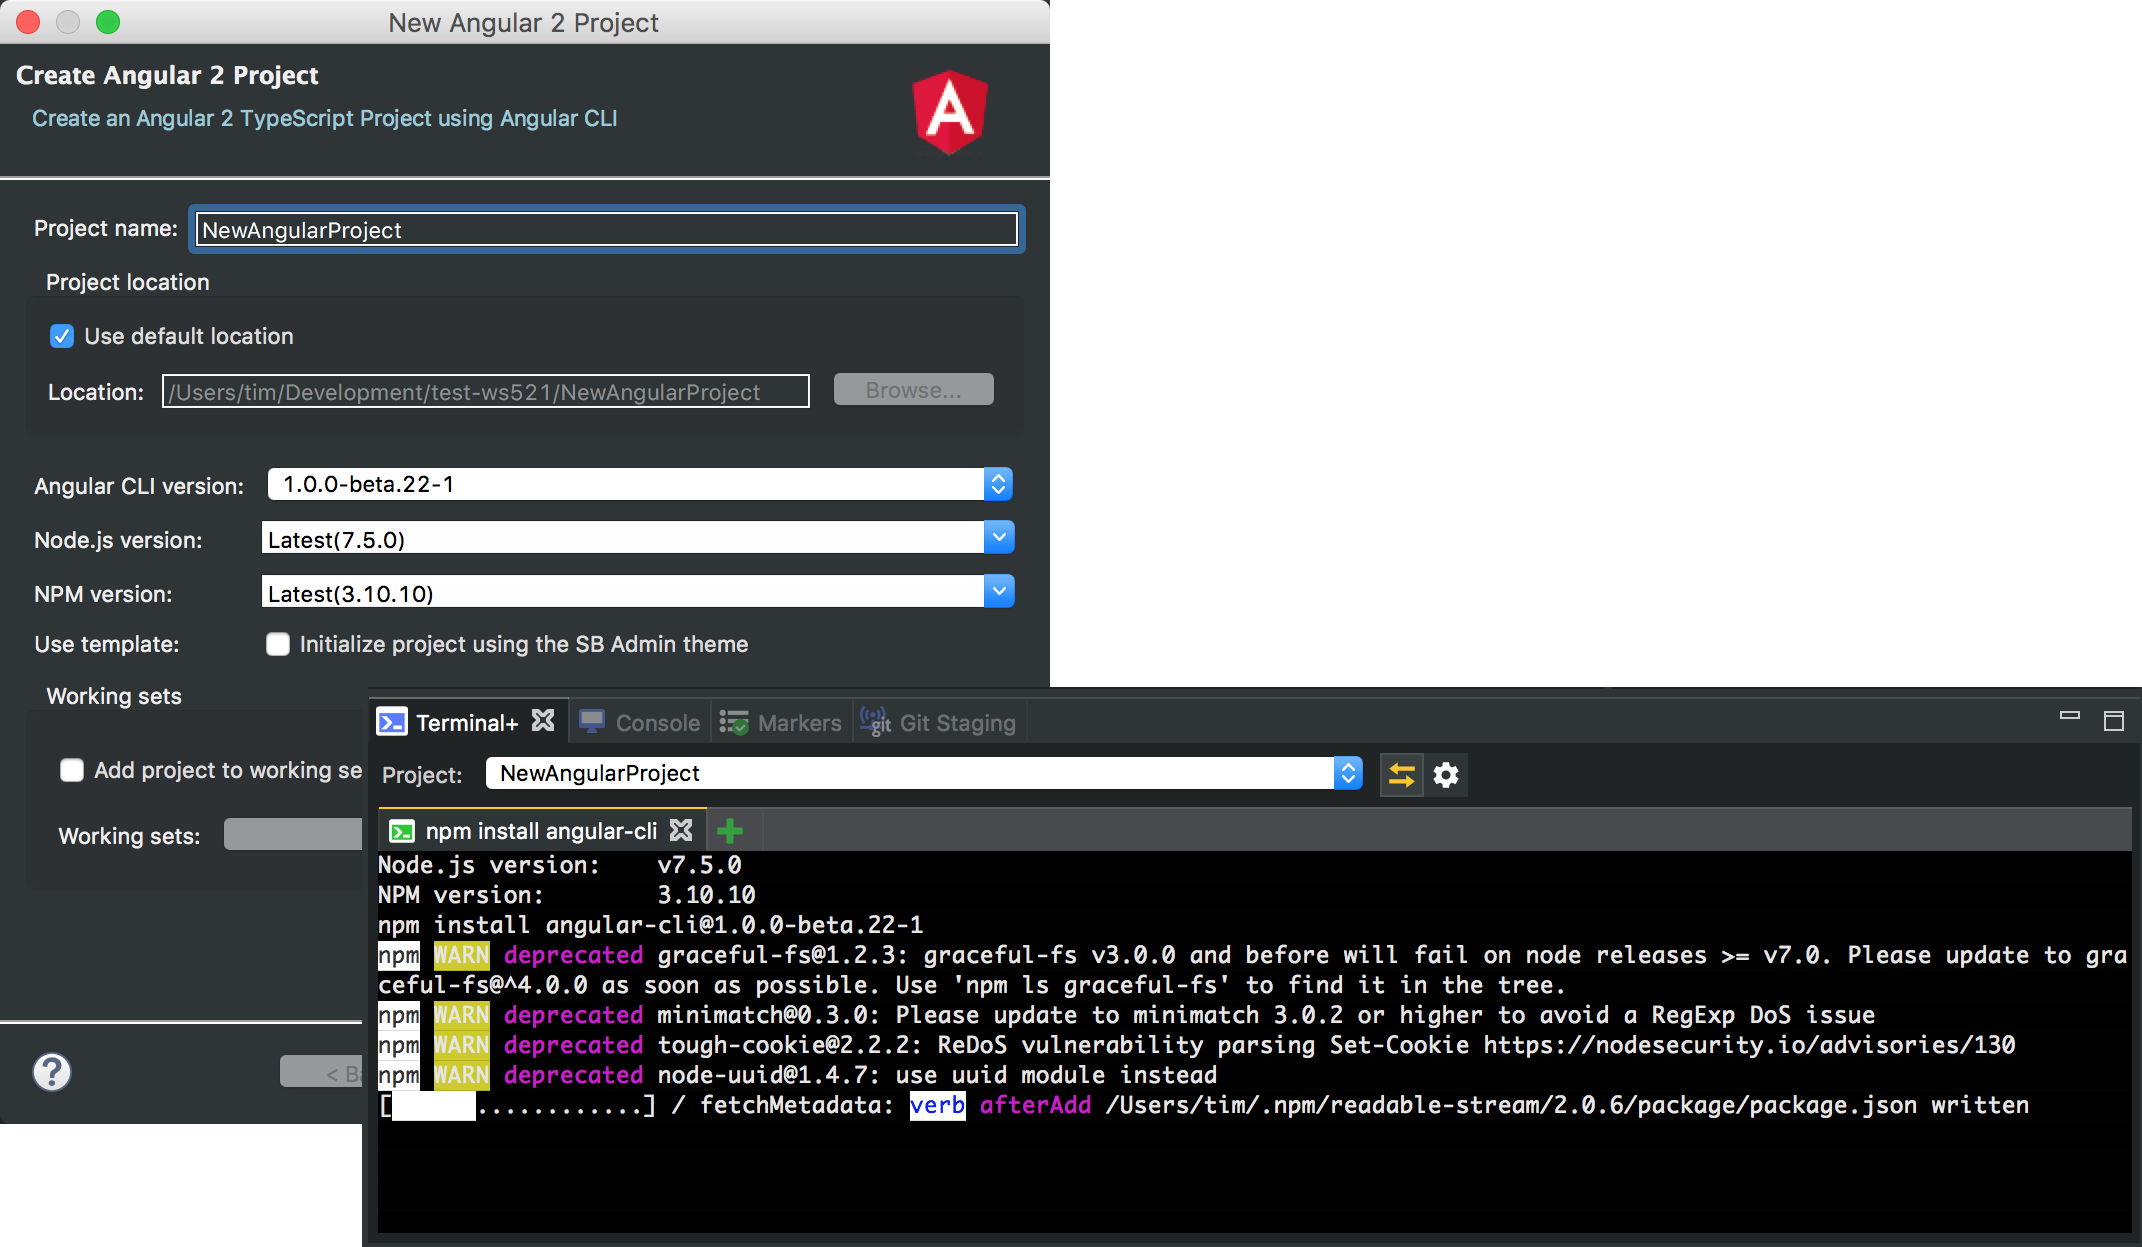
Step 1: Use the New Angular 2 Project wizard by selecting File > New > Angular 2 Project, give it a name and click "Finish" (default settings will be fine). The Angular IDE will set up a new project by using the Angular CLI "ng" command line.
Step 2: Once the project has been created, it will be listed in the "Servers" view. There are two options now -- to code more in the project, or to look at the application when it comes up (it will update itself anyway as you start to code it).
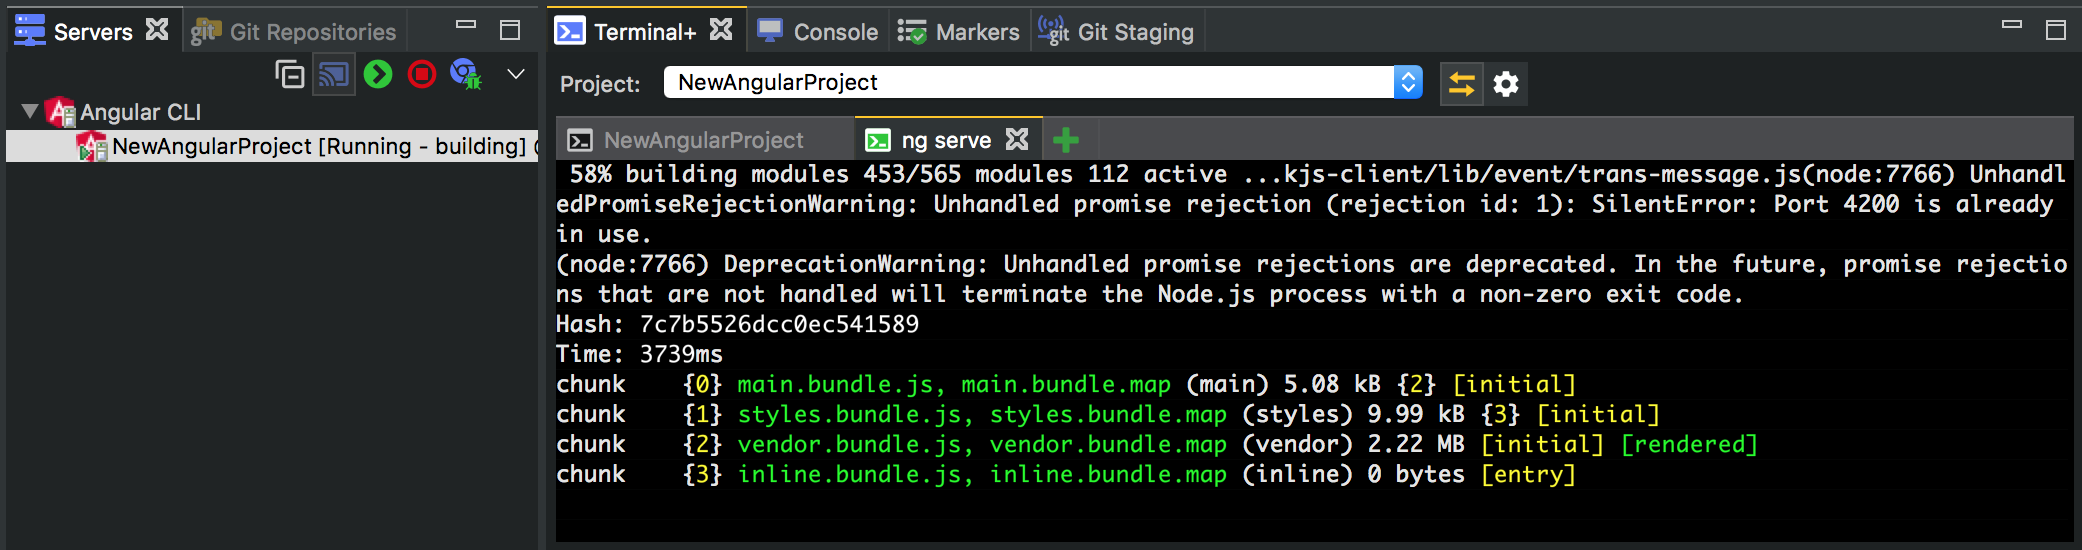
If you choose to start the server, go to the "Servers" view and expand Angular CLI. Select the project in question and click the "Start" button. A new tab will open in the Terminal+ view running "ng serve". Need more information on this? See Running the Angular Server guide.
Step 3: Create your first component by selecting New > Angular 2 > Component. It will be set up in the app directory of your project.
The following is a sample of a newly generated component.
import { Component, OnInit } from '@angular/core';
@Component({
  selector: 'app-widget',
  templateUrl: './widget.component.html',
  styleUrls: ['./widget.component.css']
})
export class WidgetComponent implements OnInit {
  constructor() { }
  ngOnInit() {
    // initialize the component
  }
}
Why not take a moment to follow the Angular 2 tutorial for details on how to make your first application from scratch!
Good luck!
About the Author