Simplified Open Source Contributions with Eclipse Che
I remember one of my first Eclipse contributions. It was in 2008, on the Standard Widget Toolkit (SWT) project. I submitted a bugzilla issue and uploaded a patch with a one-line change. It took me some time to achieve this very simple task:
- Setup and run Eclipse in debug mode
- Reproduce the bug
- Identify the problem
- Find the right Concurrent Versions System (CVS) repository
- Setup and run Eclipse with the checked-out sources
- Fix the bug
- Make sure the fix works
- Create the patch (thankfully I was using Linux ^^)
- Upload the patch to bugzilla
- And a lot more steps as the reviewer suggested some improvements to the initial patch
Today, Distributed Version Control Systems (DVCS) make repository forking and branching a lot simpler. For instance, with GitHub’s pull request, you can submit a patch in two clicks. This is a huge change for open source projects. Still, for real project contributions we can add a few more steps: contributors need to build the project, use code completion in their favorite IDE, test the modified application before submitting the patch, etc. All these steps have to be done locally and involve a lot of installation and configuration.
Moreover, the creation of a Github fork and the management of several remote Git repositories and branches will probably discourage the Git beginner.
The Contribution Workflow
A year ago, the Serli team was asked to work on a contribution workflow within Che and Codenvy. We believed that Eclipse Che could bring an on-demand contribution workspace and make pull request creation as easy as clicking on a URL. Let's have a look at what has been done so far on the Spring Petclinic sample project.
1. Go to https://github.com/codenvy-demos/spring-petclinic/.
2. Click on the Github badge.
3. If this is the first time use oauth with your Github account.
4. You are in Eclipse Che
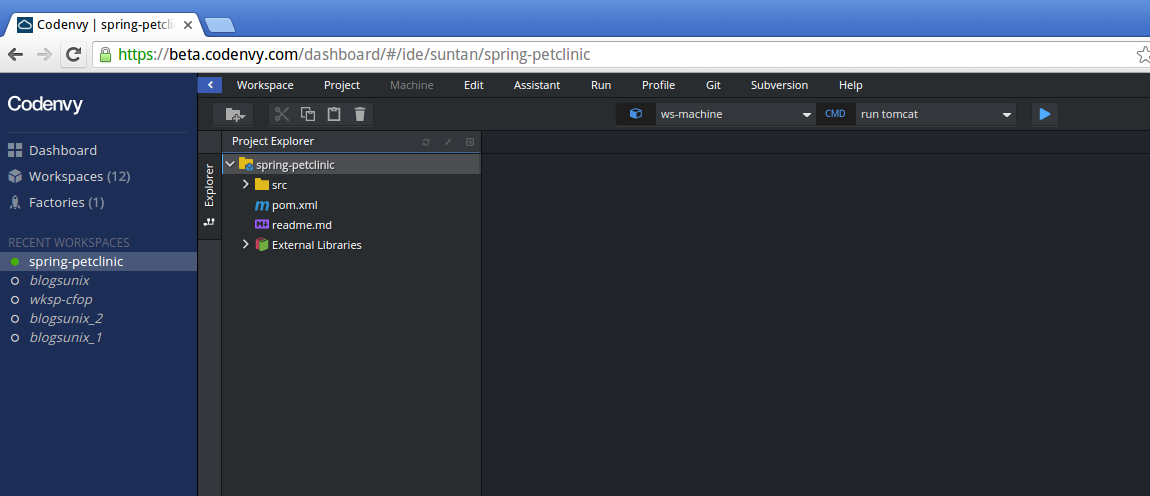
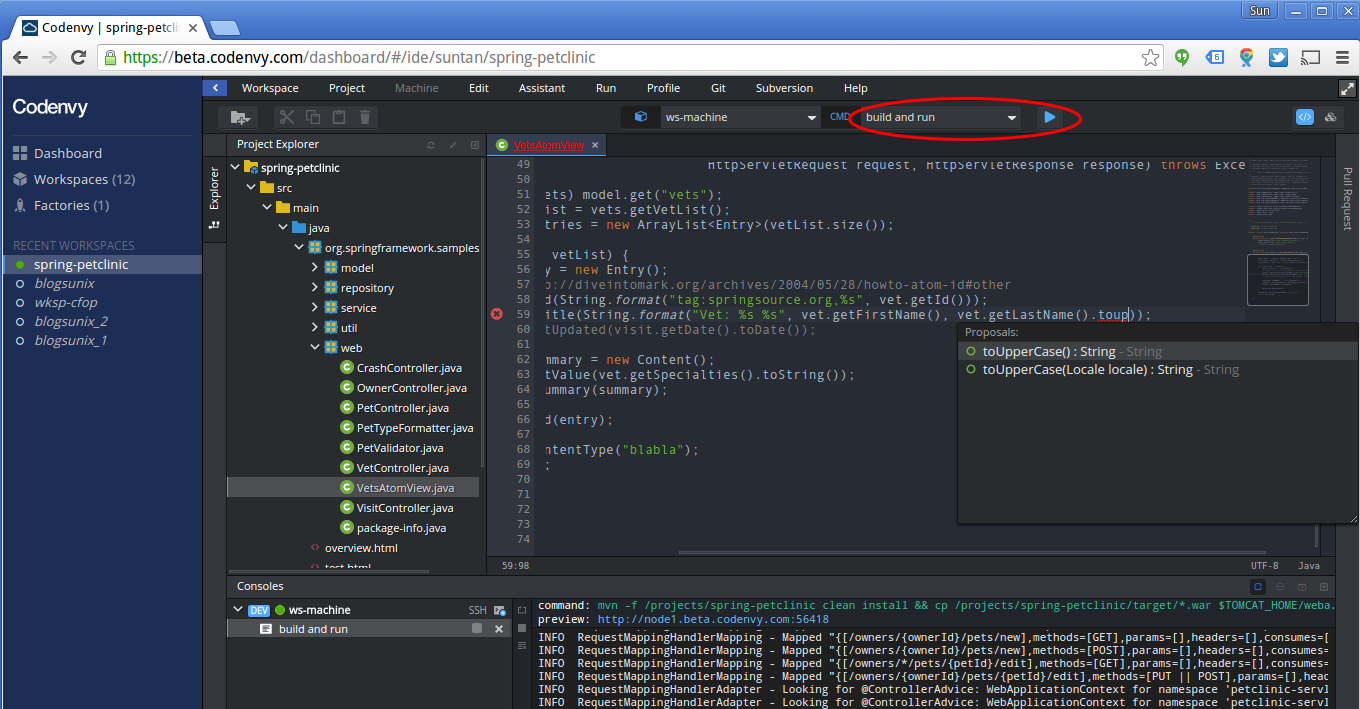
5. Open a Java class and make any modification. You’ll notice that the project is already configured and that the Java code completion is working.
6. Build and run the pet clinic app with the preconfigured command.
7. Once you are happy with it, open the pull request panel on the right.
8.Fill out (or complete) the form: PR name, branch name, description.
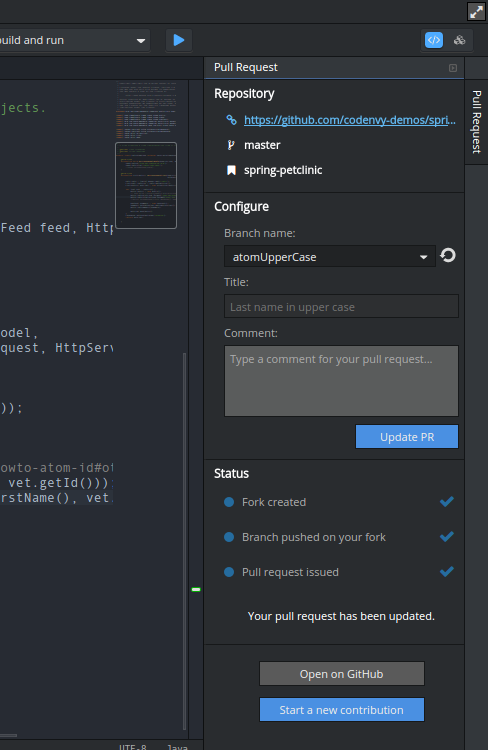
9. Che will suggest committing your changes if you have not already done so (beware of blocked pop-ups).
10. Access the newly created PR.
Good isn't it? In 10 simple steps, we managed to complete a real contribution use-case. So now, I guess you might want to have this kind of badge for your own Github open source project. Let’s see how I did it for … my blog :)
A Contribution Badge for my Blog
It may sound crazy to build and edit a blog with an IDE, but stick with me on this one. I’ve chosen Github pages and Jekyll as a blog engine for various reasons:
- no database,
- can be hosted anywhere else if Github dies,
- Git keeps history, etc.
However, it is not always that simple to edit or create a blog post with Github pages. To get a preview of a blog post that your are editing there is no other choice but to checkout the source code and run Jekyll locally. That’s where Eclipse Che helps me: I can edit my blog site in markdown and at the same time have a live preview thanks to my custom Dockerized Jekyll runtime. With a Codenvy Github badge, not only can anyone help me improve my blog post, I have a complete online editor for my own usage and don’t need to install anything locally.
The first step to create this contributor badge is to set up an Eclipse Che developer workspace. Once the workspace is up and running, we can extract the configuration and make a Codenvy factory URL that will be used to regenerate a new ready-to-use workspace each time someone clicks on it. Lastly, we can slightly modify the factory configuration to display the pull request panel.
Mister Jekyll and Dockerfile
For a Jekyll blog, we are interested in editing the blog with a nice text editor and previewing the modified site before publishing the modifications. In Eclipse Che, you can set up developer workspaces with Docker. Docker images will contain not only your developer tools but also the runtime: all the dependencies that are needed to run your application. In our case, the runtime will be Jekyll.
For my blog, I started by creating my Dockerfile. The runtime is based on an existing Codenvy Docker image that has basic developer tools such as Git, but this is not mandatory. You could, for instance, use the official Jekyll Docker image. You just won't be able to use Git from the terminal. To test a Dockerfile, I usually build and run the base image locally with Docker or with Che, run the installation commands in the terminal, and copy the working commands in the Dockerfile.
FROM codenvy/node
RUN sudo gem install github-pages pygments.rb
EXPOSE 4000
In this Dockerfile, I reuse an existing image containing all the Ruby dependencies and basic tools such as Git.
The Dockerfile is ready, I can build it and push it to any Docker registry like Docker hub.
docker build -t sunix/jekyll4che .
docker push sunix/jekyll4che
This Docker image is publicly available. You can even use it for your own Jekyll-based Che workspace.
Eclipse Che Workspace Setup
Now that I have my Dockerfile with the Jekyll runtime, I can use it as an Eclipse Che custom workspace in Codenvy
1. Go to https://beta.codenvy.com
2. Create a new account if necessary
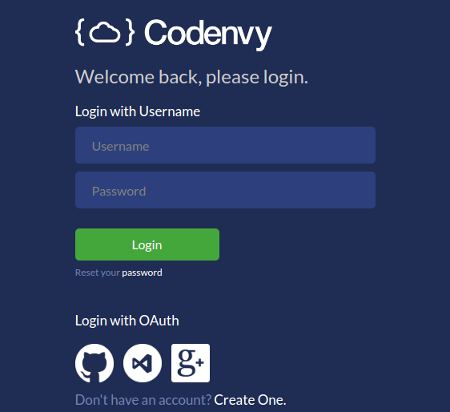
3. Login
4. Create a new project

5. Import the existing Jekyll project from Github
6. Create a workspace from Custom Stack: “FROM sunix/jekyll4che”

7. Give nice names for the workspace and the project
8. Create and open the project
At that point, I have a workspace with the project in Eclipse Che.
Before exporting the workspace configuration, I will create a command to run the blog with Jekyll. New contributors won’t have to figure out how to run and test the blog site.
Create a new custom command:
- Name: Run Jekyll
- Command line: cd ${current.project.path} && jekyll serve --host=0.0.0.0
- Preview URL: http://${server.port.4000}/
You will notice that the command contains macros that will be replaced when someone runs the command. More about macros can be found in Eclipse Che documentation.

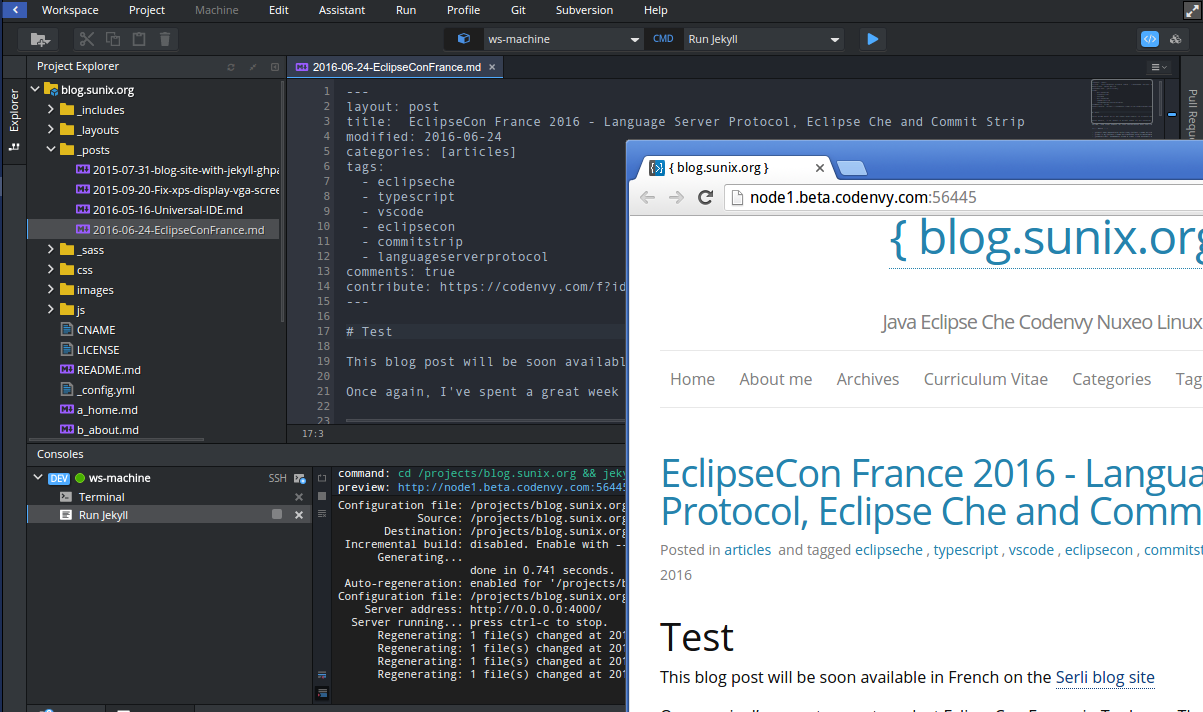
I can run the command and make live updates to a blog post :)
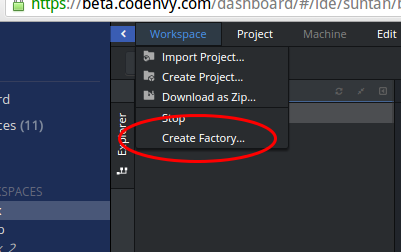
Generate a Factory URL
Now that the workspace is ready, let’s export it as a factory URL.
A factory URL refers to an entry in the Codenvy database containing all the necessary information to recreate the workspace:
- Source location
- Project type
- Dockerfile for the Eclipse Che workspace stack
- Commands
When a user clicks on the link, Codenvy will regenerate a new Eclipse Che workplace based on these metadata.
The factory URLs are all available in the factories section of the owner’s Codenvy dashboard.
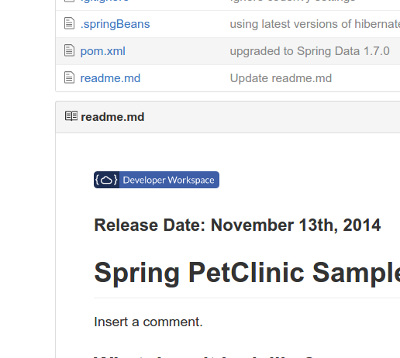
Now my contribution badge is ready to be integrated into the README.md file. I will copy the factory URL and add it to the README.md file.
[](https://beta.codenvy.com/f?id=h0e3e8tqk5ytooh2)
Factory URL from Source
A factory URL is owned by a Codenvy user and only they can modify it and access its statistics. If you are not interested in these statistics and would like to allow any of your project committers to change the factory metadata, it is possible to store the Json file in the Github project rather than as a factory url entry in the Codenvy database.

To make this kind of URL, I create a .codenvy.json file in the root folder of the Github project, then add the factory json content to it. I need to remove the ID and owner metadata. At last, I can create the new factory URL providing the complete Github project url: https://beta.codenvy.com/f?url=https://github.com/sunix/blog.sunix.org/tree/gh-pages.
In this screenshot I’m actually using the previous factory URL to make this contribution :D.

I’m finishing it by adding the badge to the README.md file:
[](https://beta.codenvy.com/f?url=https://github.com/sunix/blog.sunix.org/tree/gh-pages)
More about factory URLs can be found in the Codenvy documentation.
You could do a lot more than I have done here: open a file by default, trigger a command, etc...
Eclipse Projects
That's all, I hope you will all create these Github contribution badges for your Github projects and that you will get more and more contributions. For Eclipse projects, some of them (like Vert.x) already have their Github badge. We can create contributor badges for any of them. However, as most of them rely on Eclipse Plug-in Development Environment (PDE), they won't have code completion in Eclipse Che, but hopefully you will still be able to build and run any project. In addition, we are looking forward to Visual Studio language protocol to help us in improving this in the near future.
Happy coding :)
About the Authors